

Privacy Policy
Information Security Basic Policy
Derivative Creation Guidelines
Request to minors
©AoharuNEXT Inc.

FocusRay Wireless Model OnlineManual
(AONXV-001-W)
1. Introduction
Thank you for purchasing our product.
Please read this online manual carefully to ensure correct and safe use of the product.
Before using the product, please make sure to read 3. Safety Precautions.
2. Setup
Detailed and easy-to-understand instructions for setting up the product can be found in the Quick Start Guide on our support page. Please check the link below.
>Click here for the Quick Start Guide (https://www.aoharunext.co.jp/en/support/quickstart)
3. Safety Precautions
To ensure the safety of users and to prevent accidents such as fire or electric shock, please read this section carefully before use and strictly observe the instructions.
If you notice any abnormalities such as smoke, strange noises, or unusual odors, stop using the product immediately.
Disconnect the USB Type-C cable from the main unit, turn off the power switch, and confirm that smoke or other hazards are no longer present.
Continuing to use the product under such conditions may cause fire or malfunction.
Please request a repair through the Repair Information section on our support page.
Never attempt to repair the product by yourself
The following symbols indicate the nature of the precautions.
Prohibition
Instruction (Must be followed)
This content indicates a high risk of death or serious injury.
This product must be charged using the included USB charging/communication cable and according to the method specified in the online manual. Charging by any other method may cause the battery to generate gas, overheat, or rupture.
Do not use this product for any purpose other than its intended use. Doing so may cause equipment damage, accidents, or injury.
Do not use or charge this product in areas where it may be exposed to water. Using it in kitchens, laundries, or similar locations may cause electric shock.
This product contains a built-in rechargeable battery (lithium polymer battery). Do not throw it into fire, heat it, apply pressure to it, or charge, use, or leave it in high-temperature environments. Furthermore, do not heat it in a microwave oven or toaster oven. Doing so may cause overheating, fire, or rupture.
If the rechargeable battery leaks, becomes swollen, or if the device becomes submerged in water, stop using it immediately. Do not touch any fluid that has leaked from the rechargeable battery, and request a product inspection according to the procedures in the Repair Information section on our support page. Continuing to use the product when it has leaked, swollen, or been submerged may cause equipment damage, battery rupture, accidents, or injury.
This content indicates a potential cause of personal accidents, including death or serious injury.
Do not perform any actions that could damage the USB charging/communication cable or the USB Type-C connector. (Do not scratch, modify, place near heating appliances, forcefully bend, twist, pull, place heavy objects on, or bundle them, etc.) Using the USB cable or connector while damaged may cause a fire due to a short circuit.
Never disassemble or modify this product. Doing so may cause equipment malfunction, or metal objects may enter the device, resulting in burns or fire.
When connecting the USB charging/communication cable to a USB charger, use one that can output 2.0A or more. If the output is insufficient, the product may not charge, or it may cause the USB charger to malfunction, overheat, or catch fire.
Do not allow foreign objects to enter the device, and do not splash or wet it with water or other liquids. Short circuits or overheating may cause fire, electric shock, or malfunction. Furthermore, do not place containers filled with water or other liquids, or metal objects, near the equipment. Please exercise particular caution regarding children.
Do not use this product in locations where wireless communications are prohibited or restricted, such as inside aircraft or hospitals.
Do not use damaged or deformed equipment. If the product becomes damaged or deformed, please request a repair.
This content indicates a risk of minor injury or property damage.
When securing the product to a VR headset, always use the included dedicated mounting bracket and ensure it is firmly attached. If it is not securely fixed, the equipment may fall, causing damage to the device or personal injury.
Do not use the product in locations with high levels of moisture, steam, oily smoke, or dust. Doing so may cause fire or electric shock.
Do not place this product within reach of infants or children. Doing so may cause unexpected accidents or injury.
Do not place the product in areas that reach abnormally high temperatures. In particular, the inside of a car or a car trunk can become extremely hot during midsummer. Never leave this product in such locations. Leaving it there may cause a fire.
When securing the product to a VR headset, do not overtighten the screws that connect the included dedicated mounting bracket to the product body. Overtightening may cause damage to the housing.
Usage Requests
-
The use of this product assumes a position of 5 cm or more away from the body.
Please use it at a distance of 5 cm or more from your body.
California Proposition 65 Warning: This product contains chemicals known to the State of California to cause cancer and birth defects or other reproductive harm.
-
Do not bring the product into close contact with strong magnets (such as neodymium magnets). Doing so may damage the camera unit.
-
If dirt or foreign matter gets on the camera lens, brush off the dust and debris with a soft cloth before wiping it clean. Do not use liquids such as alcohol.
-
When disposing of the product, please follow the instructions of your local municipality. This product contains a built-in rechargeable battery (lithium polymer battery). Do not dispose of it as ordinary trash (non-burnable waste); please cooperate with recycling. For Customers in the EU and UK: This symbol on the product or on its packaging means that your electrical and electronic equipment should be disposed of at the end of its life separately from your household waste. There are separate collection systems for recycling in the EU and UK.
4.Product Details / Package Contents
4-1.Package Contents
Product Name | Contents Description | Number of items |
|---|---|---|
FocusRay WirelessModel(AONXV-001-W) | FocusRay Wireless Model Main Unit | 1 piece |
Dedicated Fixed Mount | Dedicated fixed mounts for each VR headset | 1 piece |
USB cable for power delivery and communication | USB Type-A to Type-C Cable | 1 piece |
Quick Start Guide, Safety Precautions and Warranty | Each explanatory document | One each |
4-2. Part Names
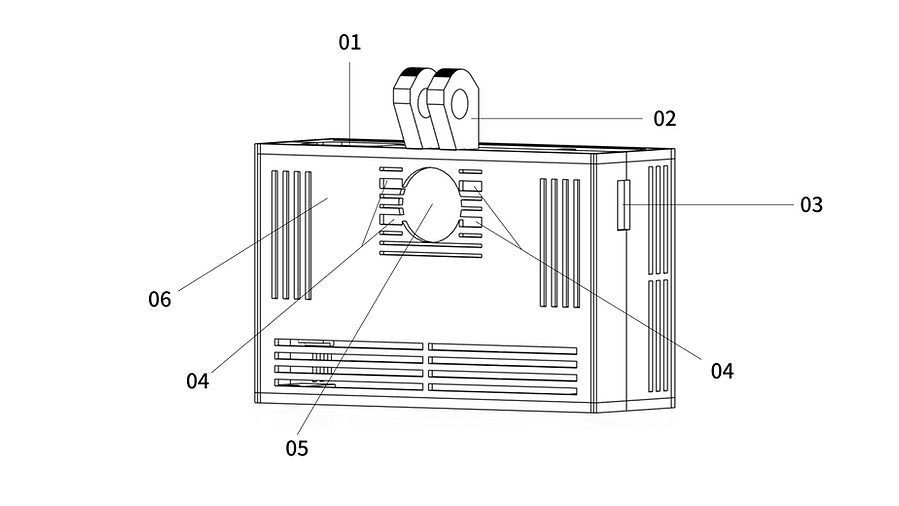
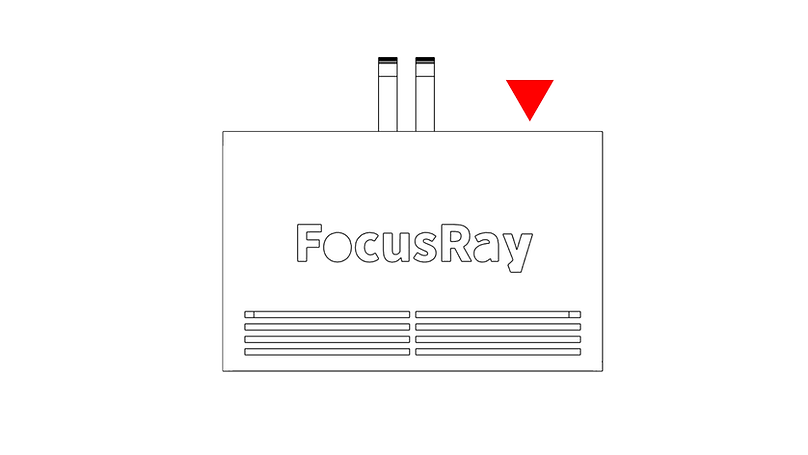
01: Charging / Communication Port
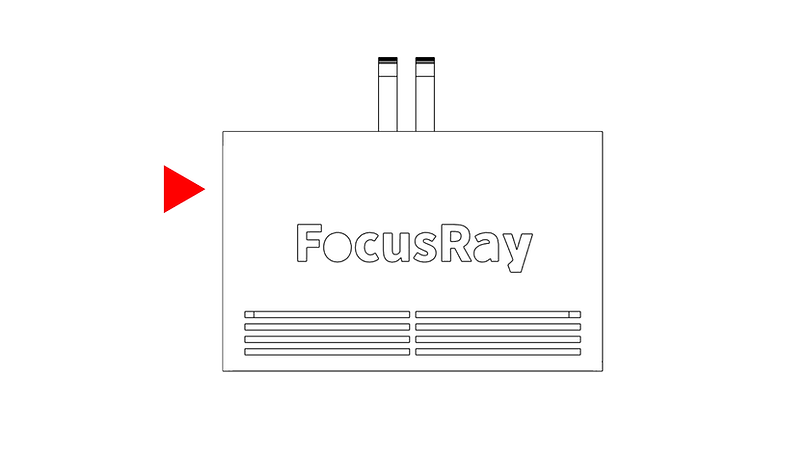
02: Bracket Mount Connection (Main Unit Side)
03: Power Switch
04: Infrared LED
05: Camera
06: Status Indicator LED
5. Operation Method
5-1. Charging the Device
Please charge the product before using it for the first time after purchase. Connect the included USB charging/communication cable to the USB Type-C port located on the top of the main unit to charge.
-
During charging, the red LED on the left side of the camera lens will flash. Once charging is complete, the LED will turn off.
-
It takes approximately 2.5 hours to fully charge from 0%. This duration may vary depending on usage conditions.
-
The battery operates for approximately 3 hours from a full charge. The actual operating time may vary depending on usage conditions.
-
Please charge the device in an appropriate environment between 10 degrees Celsius and 35 degrees Celsius (50 degrees Fahrenheit and 95 degrees Fahrenheit).
5-2. Turning the Power On
When looking from the camera lens side, slide up the slide switch located on the right side of the main unit. If the LED on the left side of the camera lens lights up, the device has started up normally.
(The four infrared LEDs around the camera lens emit invisible light, so they may appear to be turned off, but they are functioning normally. To check if they are working, capture the LED section using a smartphone camera or a similar device.)
5-3. Turning the Power Off
When looking from the camera lens side, slide down the slide switch located on the right side of the main unit. If the LED on the left side of the camera lens turns off, the power has been turned off normally.
6. Product Assembly
6-1. Attaching the Mounting Bracket to the Main Unit
Normally, the mounting bracket is already attached to the product when it arrives.
However, if you need to replace the mounting bracket or if it was not attached, please follow this procedure for installation.
Prepare the mounting bracket for your respective VR headset and the FocusRay main unit.

Secure the arm portion of the mounting bracket for your VR headset (the side with the three tabs protruding) to the main unit. Align the arm with the screw holes on the main unit so they interlock, and secure them using the included screws and nuts.
-
Please refer to "4-2. Part Names" for descriptions of each part.
At this time, to prevent damage to the housing, do not tighten the screws from both sides using a hex wrench or similar tool. Hold the nut in place with your hand and securely tighten from the other side using a Phillips screwdriver.
As a general guide for tightening, it is sufficient to tighten with a Phillips screwdriver an additional 1/4 turn after you feel resistance with your fingertips.
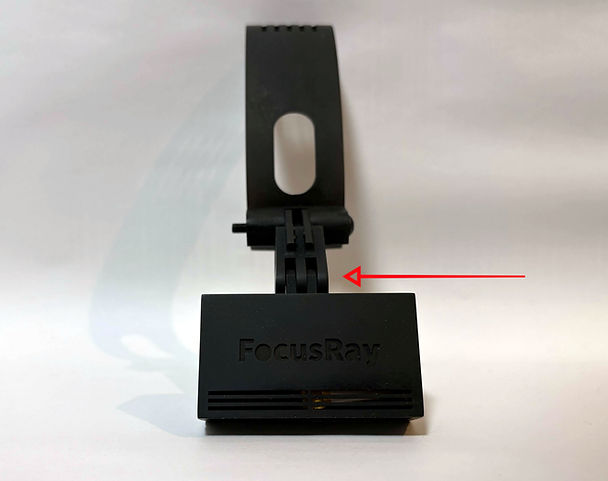
This completes the attachment of the main unit to the mounting bracket.
6-2. Attaching the Product to the VR Headset
This section explains how to secure the product to a VR headset using the dedicated mounting bracket.
Prepare the FocusRay main unit with the dedicated mounting bracket already attached.
All VR headset mounting brackets are designed to snap the top side in first, followed by the bottom side.
Hook the upper side of the clip portion (the part that catches onto the VR headset) onto the top of your VR headset.
Next, hook the lower side of the clip portion onto the bottom of your VR headset. If you hear a "click" sound at this point, it is successfully secured. To ensure safety during gameplay, please verify that it is firmly attached.
-
Do not apply excessive force, as doing so may damage the VR equipment or the FocusRay main unit.
6-3. Removing the Main Unit from the VR Headset
This section explains how to remove the FocusRay main unit from the VR headset.
All VR headset mounting brackets are designed to snap the top side in first, followed by the bottom side.
Gently pull the lower side of the clip portion (the part that catches onto the VR headset) downward and pull it slightly toward you to release the bottom latch.
Next, gently pull the upper side of the clip portion away from the top of your VR headset to remove it.
-
Do not apply excessive force, as doing so may damage the VR equipment or the FocusRay main unit.
6-4. Removing the Mount from the Main Unit
This section explains how to remove the mounting bracket of each VR headset from the FocusRay main unit.

Detach the main unit from the arm portion of the VR headset mounting bracket (the opposite side of the clip portion that attaches to the VR headset).
Loosen the included screws and nuts that secure the interlocking arm and screw holes of the main unit using a flathead screwdriver or similar tool. If they are difficult to loosen, hold the nut portion in place with a hex wrench or similar tool and loosen the screw.
Once the screw is loosened to a certain extent, you will be able to remove the screw by hand.
-
Please refer to "4-2. Part Names" for descriptions of each part.
7. Legal Certification and Restrictions on Use
The use of this product is restricted to Japan, the United States of America, Australia, EU member states, the United Kingdom, Hong Kong, and Canada.
This device cannot be used in locations where wireless communications are prohibited, such as inside aircraft or hospitals.


Certification information is provided on the label located on the side of the main unit.
This device complies with Part 15 of the FCC Rules. Operation is subject to the following two conditions: (1) This device may not cause harmful interference, and (2) this device must accept any interference received, including interference that may cause undesired operation
Caution: Any changes or modifications not expressly approved by the party responsible for compliance could void the user's authority to operate this equipment.
This equipment complies with FCC radiation exposure limits set forth for an uncontrolled environment. This device should be operated with a minimum distance of 50mm between the radiator and your body.
8. Specifications
Product Name (Model Name) | FocusRay WirelessModel(AONXV-001-W) |
|---|---|
Communication standard | Communication via 2.4GHz wireless LAN |
Power supply method | Battery power supply via built-in lithium polymer battery and pass-through power supply via USB cable connection |
Continuous operating time | Approximately 3 hours |
Weight | Body: 38.5g Body + Strap: 70.5g(for Quest3) |
Unit Size | Width 61mm Height 38.5mm Depth 21.5mm |
Camera | 1280×800, max 120fps, Global Shutter |
Low-light support | Built-in infrared LED |
Supported Operating Systems | Windows10 / Windows11 |